- Created : 22/Dec/2022
- Support URL: support.motothemes.net
Introduction
Image Buzz - Free Stock Images WordPress Plugin
Are you looking for high-quality photos for your WordPress website? If so, explore Image Buzz - Free Stock Images WordPress plugin. This is exactly what you need . After all, a WordPress blog or post would be incomplete without a good image.
Searching for good quality images on the internet, downloading them and putting them on your website and then checking if it fits or not is always a tough task. Image Buzz - Free Stock Images WordPress PLugin has reduced all those unnecessary steps and hassles.
It provides millions of images. You can simply search for the desired image from Pixabay, Pexels, Unsplash and Open API. Once you find the desired image, preview it and can import it straight into WordPress Media Library. You can use this image for any post or page on your website. This is a lightweight and user-friendly tool that allows you to insert a quality image into your website in just a few clicks.
With this plugin, you can easily generate high-quality video content, create a blog post, and download video content by connecting the Youtube API key.
Plugin Created Date:
Plugin Updated Date:
Please check Live Preview:
Creative Author Portfolio:
Features
There are more than enough features squeezed in this plugin like
Features of the plugin
- Download images from Pixabay, Unsplash, Pexels and Open API
- YouTube API Integration
- Download Video Content
- Onclick Add Blog
- Get Youtube Video to Blog Post
- Easy search from millions of images
- Direct download into media library
- Insert Images directly into post or page
- 100 % safe and model released images
- Latest WordPress Support
- Time Saver
- Easy To Use
- Well Documented
- Dedicated Support

Installation
Image Buzz- Free Stock Images WordPress Plugin installation doesn’t differ from any other plugin installation process, so you might be familiar with this process already. If not, please follow instructions below. The zip you have received from code canyon, please unzip it and then you will see 2 files.
- imagebuzz.zip
- Documentation Help
Plugin Installation
Steps of Installation
Step 1 Login to your website (WordPress admin) .
Step 2 Navigate to Plugins >> Click on Add New.
Step 3 Click on Upload Plugin button.
Step 4 Browse to the imagebuzz.zip file and choose that file.

Step 5 Click “Install Now” button and wait while plugin is uploaded on your server.
Step 6 Now, Activate the plugin by clicking on "Activate Plugin" button.
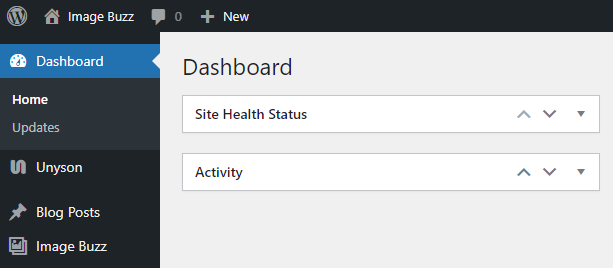
Step 7: Once it will get Activated you will see Image Buzz icon on WordPress dashboard.
Plugin Options
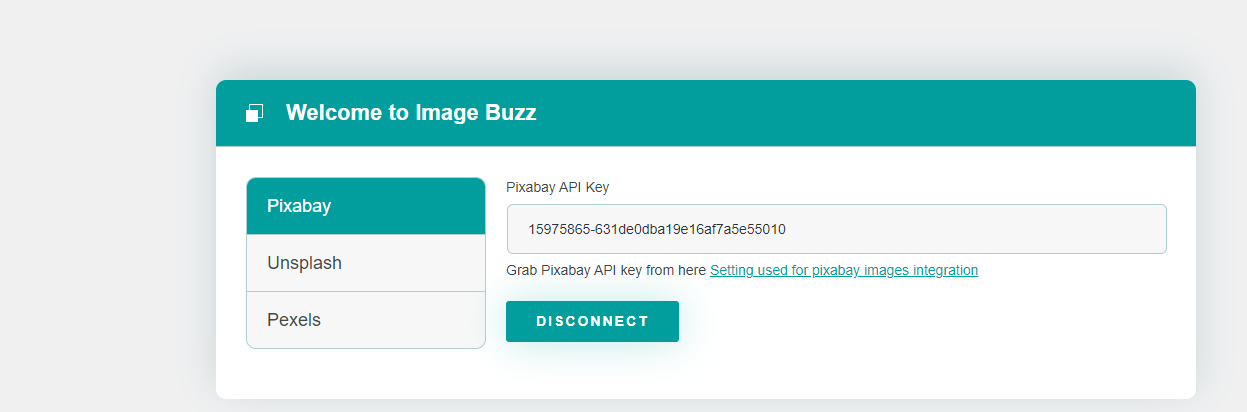
Pixabay
In this option, you need to enter API key of Pixabay.
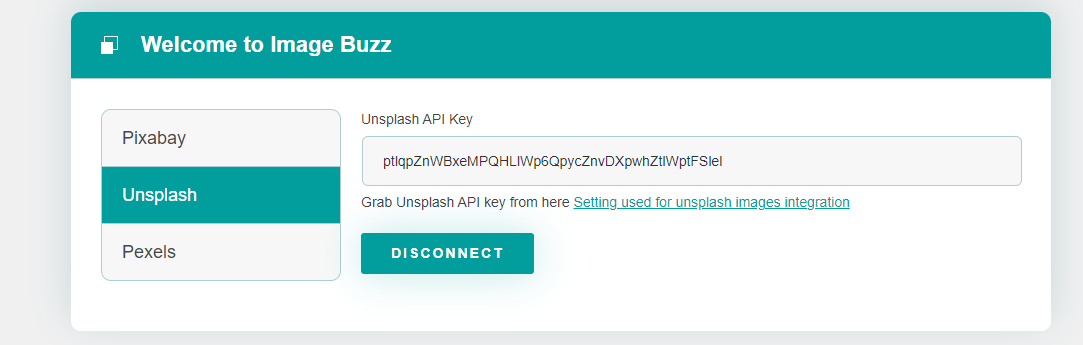
Unsplash
Enter the API key of Unsplash in this setting.
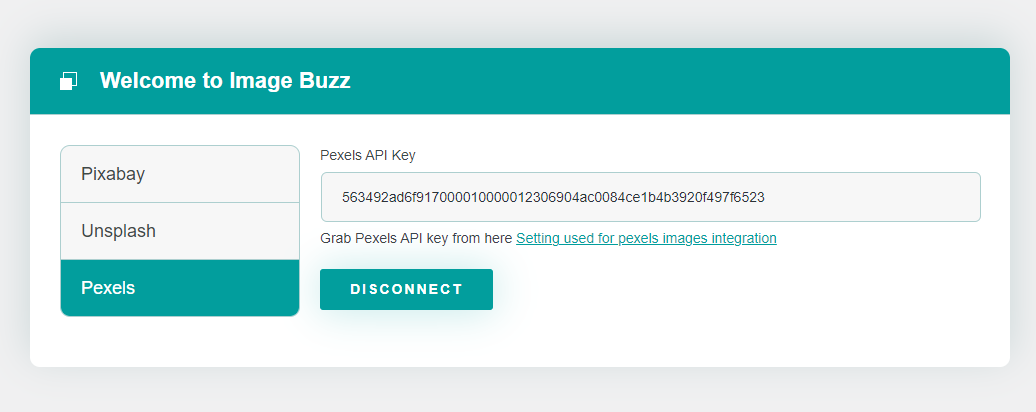
Pexels
This option allows you to enter the API key of Pexels.
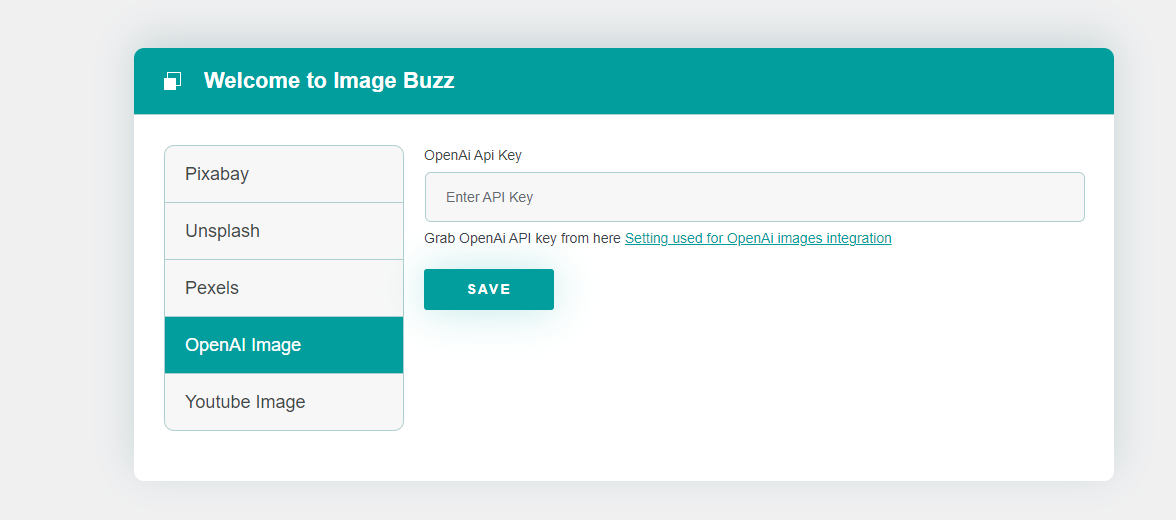
OpenAI Image
This option allows you to enter the API key of OpenAI API. After entering the API key you can generate images through OpenAI.
Youtube Image
Enter the Youtube API in this setting.
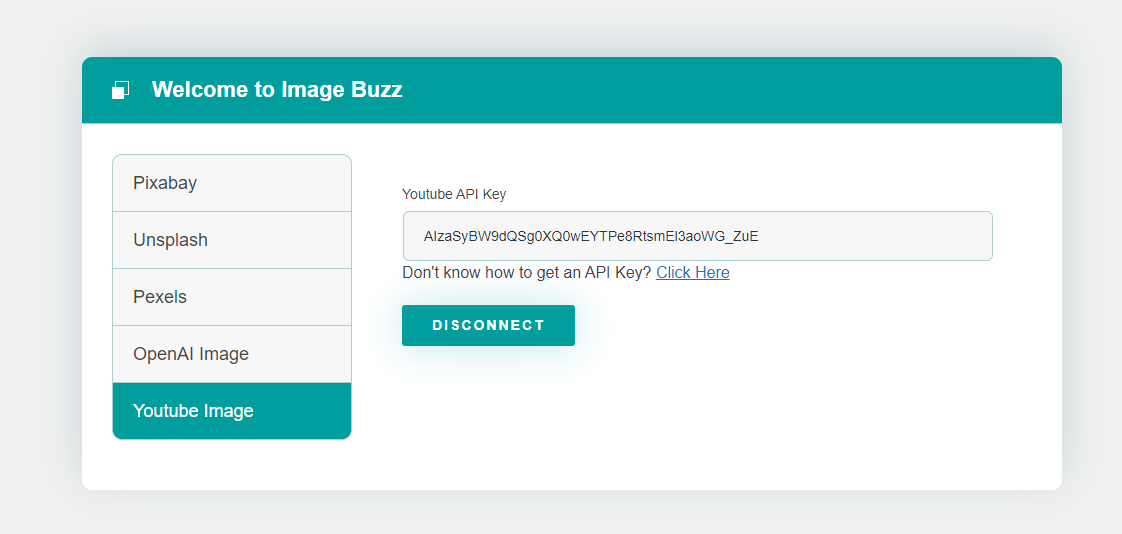
Image Buzz Youtube
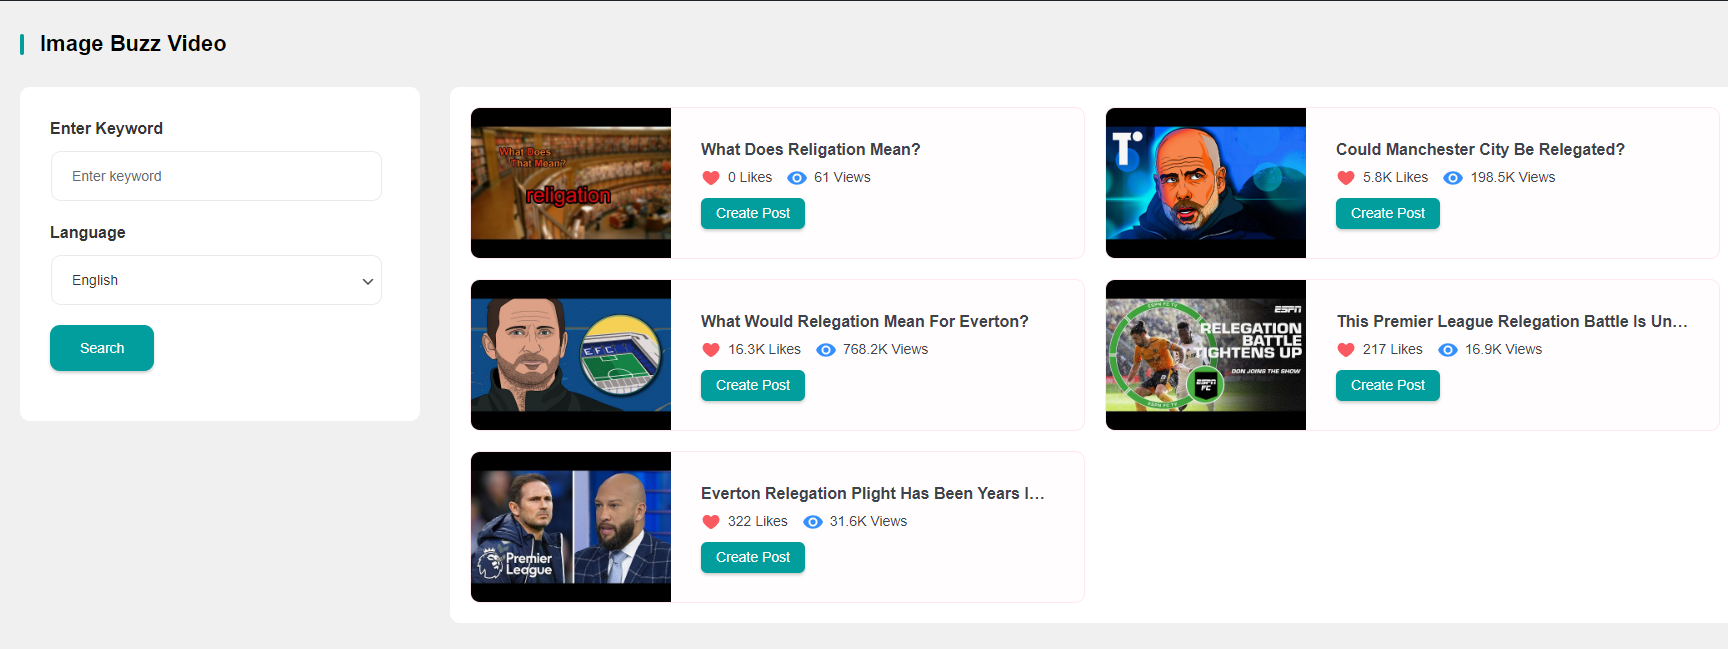
This option allows you to create blog post with Youtube video. To get video as blog post you need to connect the Youtube API key.
After connecting API key, you can search videos on the basis of keywords and selected languages. After getting the desired video, click on Create Post button.
Then you will be redirected to the screen, from where you can change the post title, post tags, post content, select categories, post status as Public or Private, and choose whether to include a thumbnail or video in the post. After making the desired customization you can either Create a Post or Download Content.
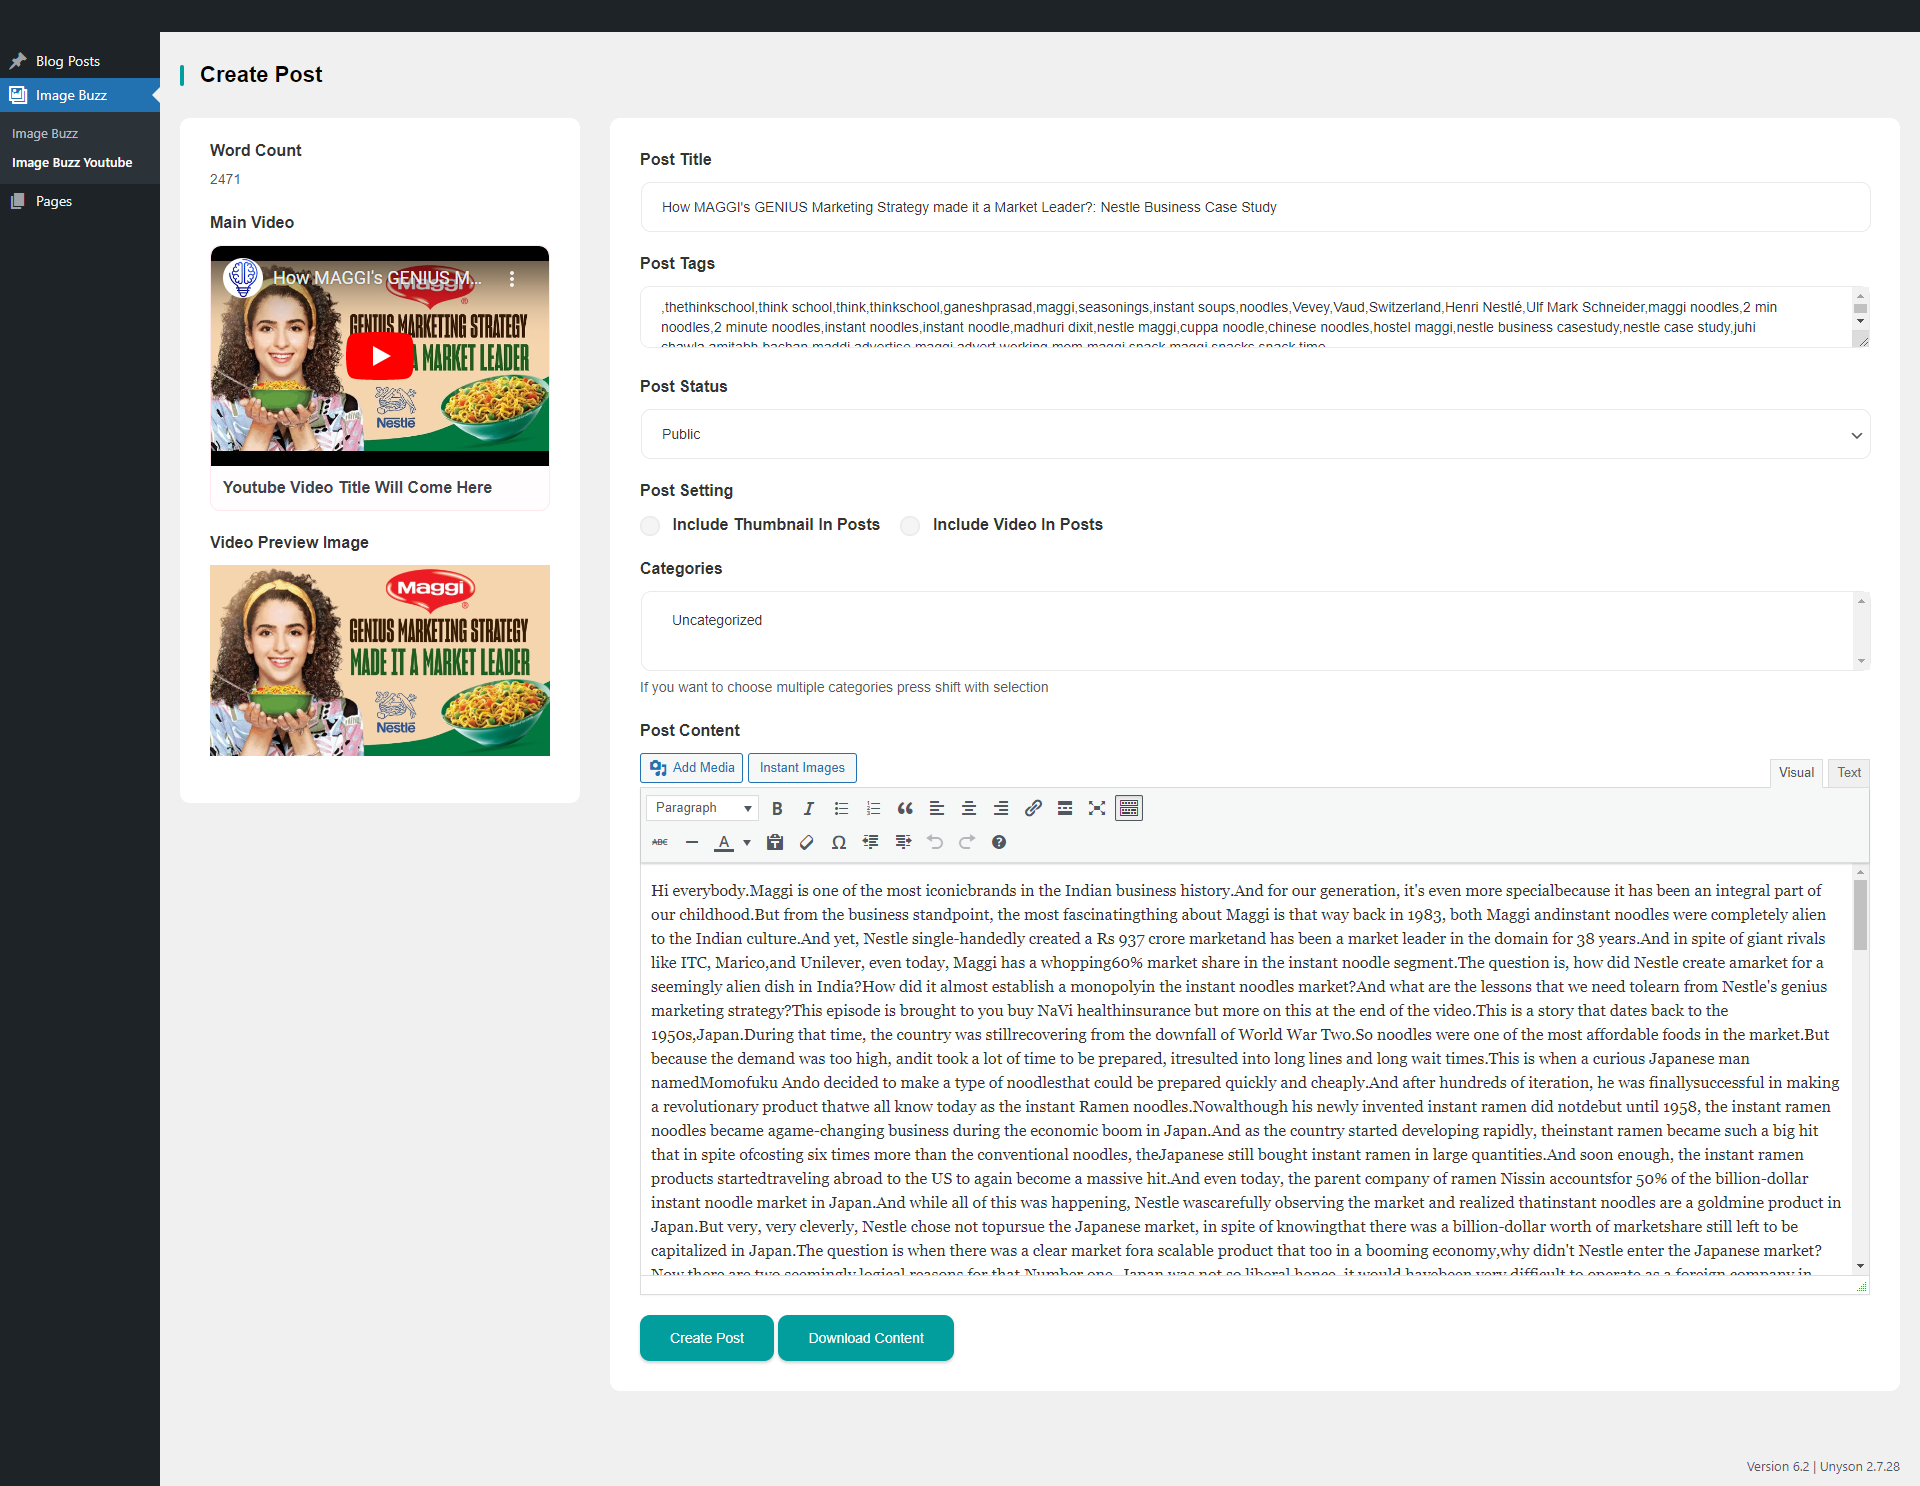
The created post will appear on the Blog Post section of WordPress.
How It Works
After entering the API keys, you can search images from Pixabay, Unsplash, Pexels and OpenAi and download it to media library, to use image either in post or page.
How to Add Images in Blog Post
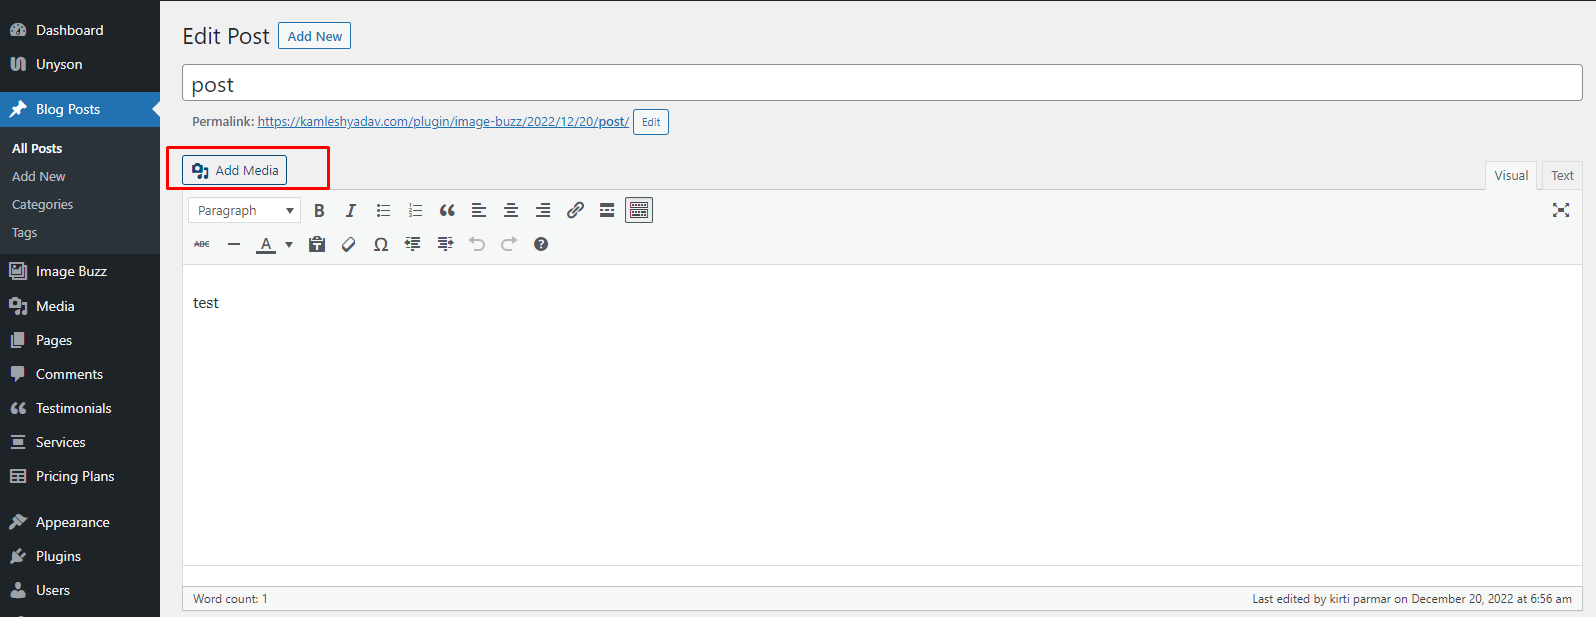
Step 1 Navigate to Blog Post option in WP dashboard. You can either create new post or edit existing post.
Step 2 Click on Add Media Option
Step 3 Select Image Buzz option and select any option from Pixabay, Unsplash, Pexels and OpenAi. Then search the desired image.
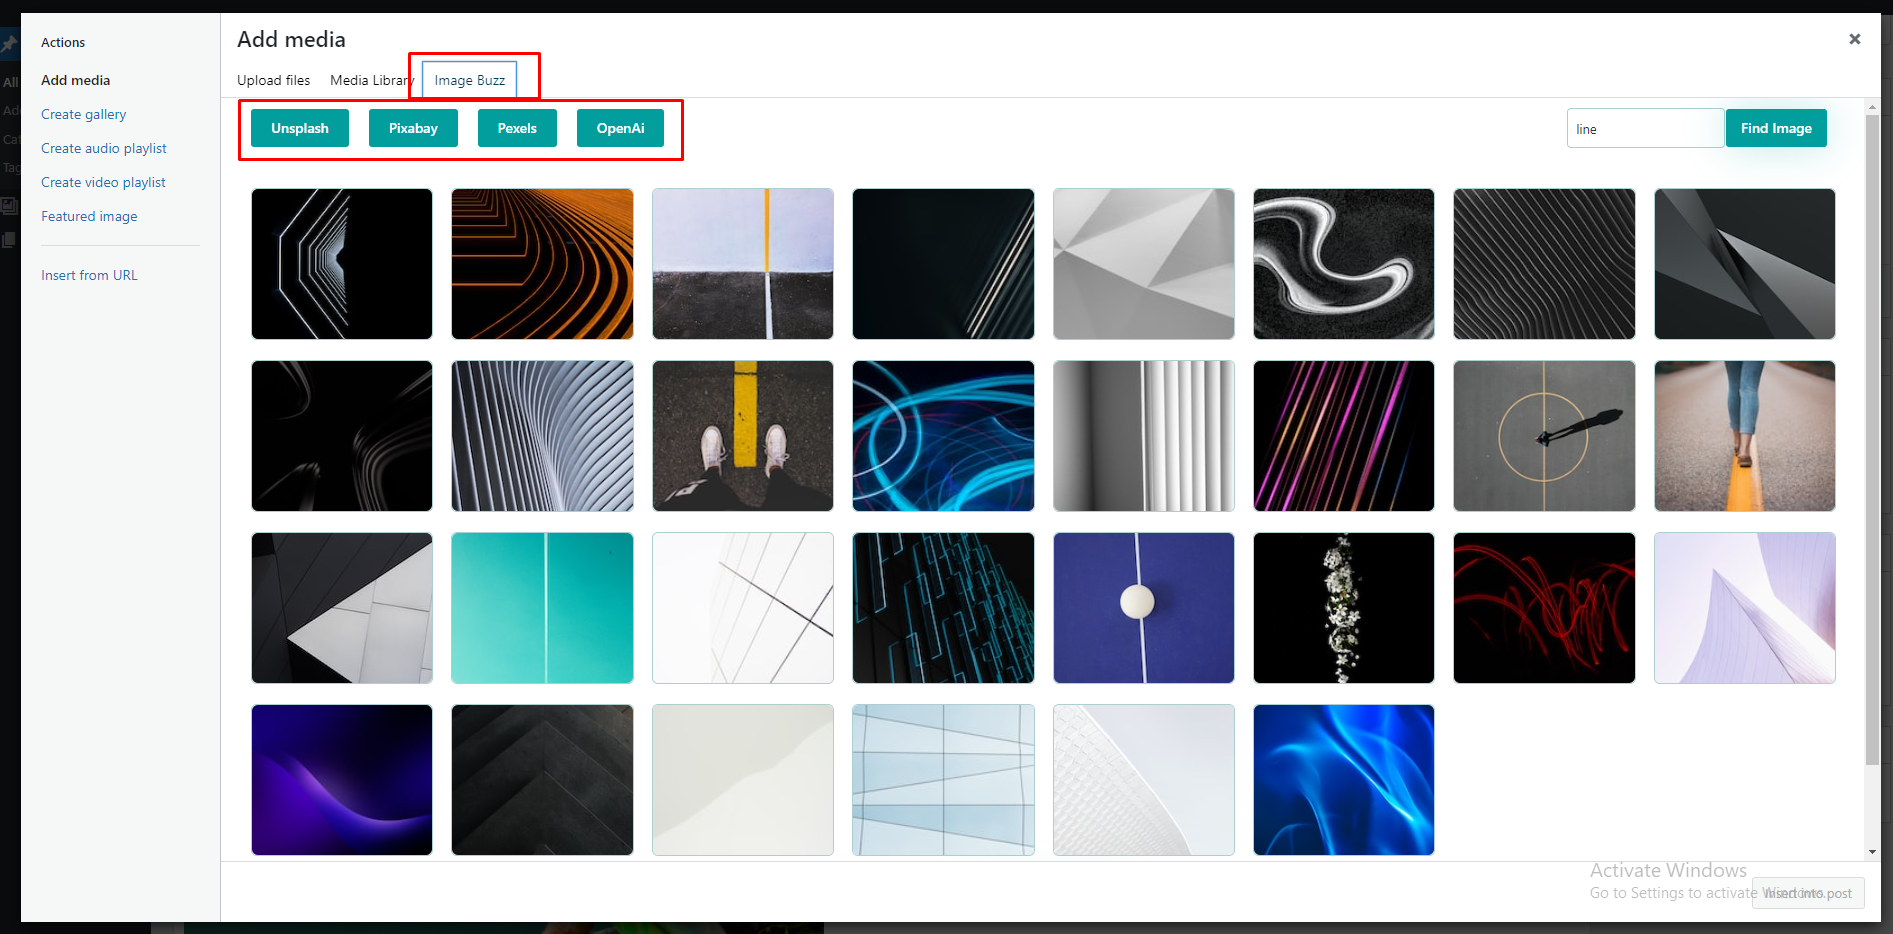
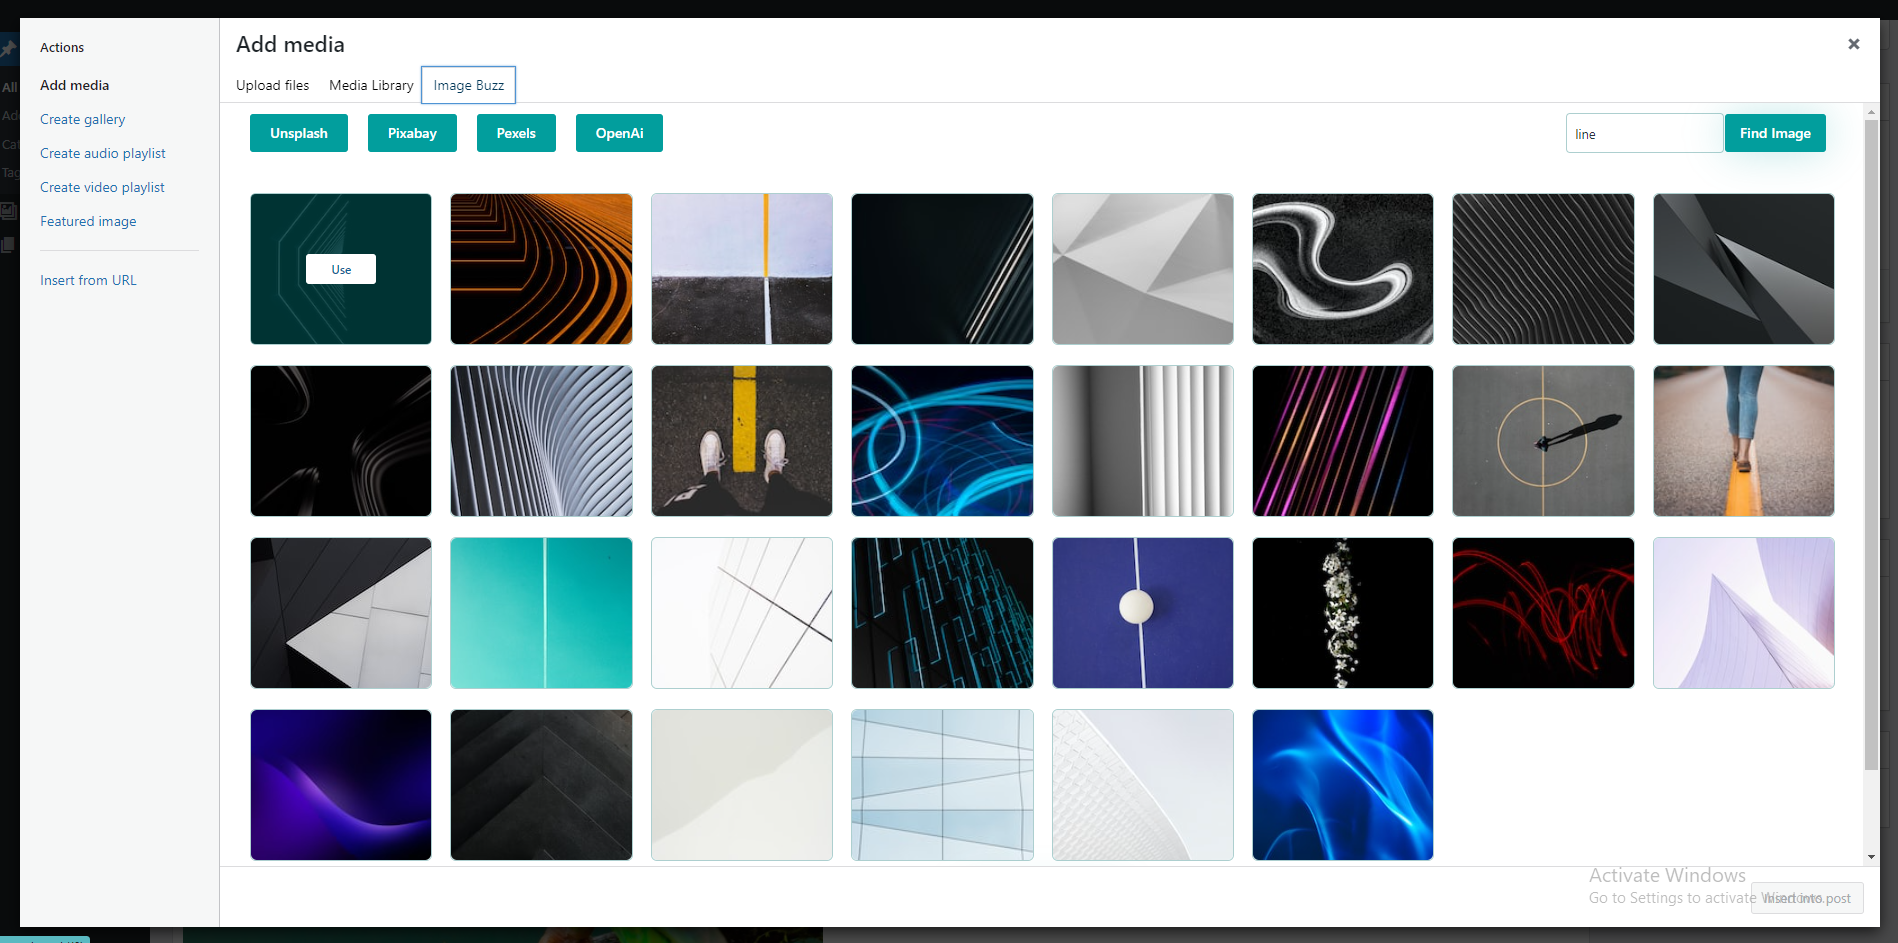
Step 4 After searching image, click on Use button. Image gets downloaded into Media Library and can insert into post.
How to Add Image in Page
Step 1 Navigate to Pages option in WP dashboard. You can either create new page or edit existing page.
Step 2 Click on Add Media Option
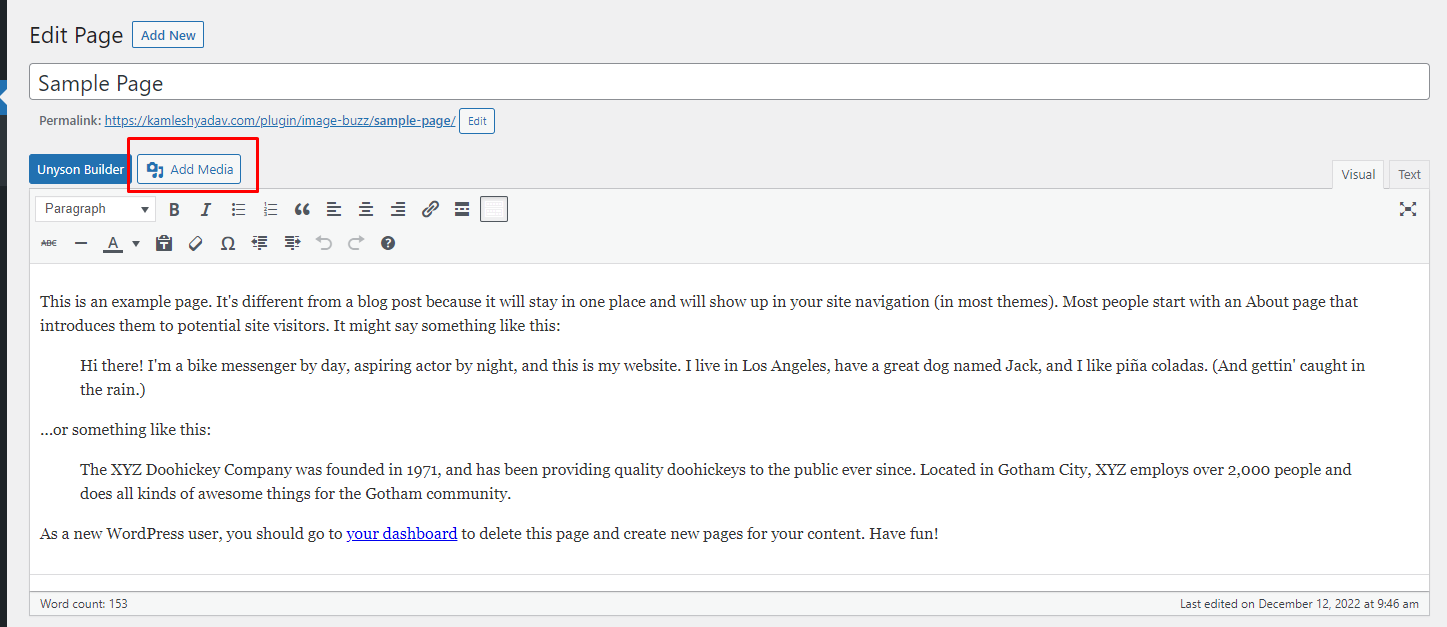
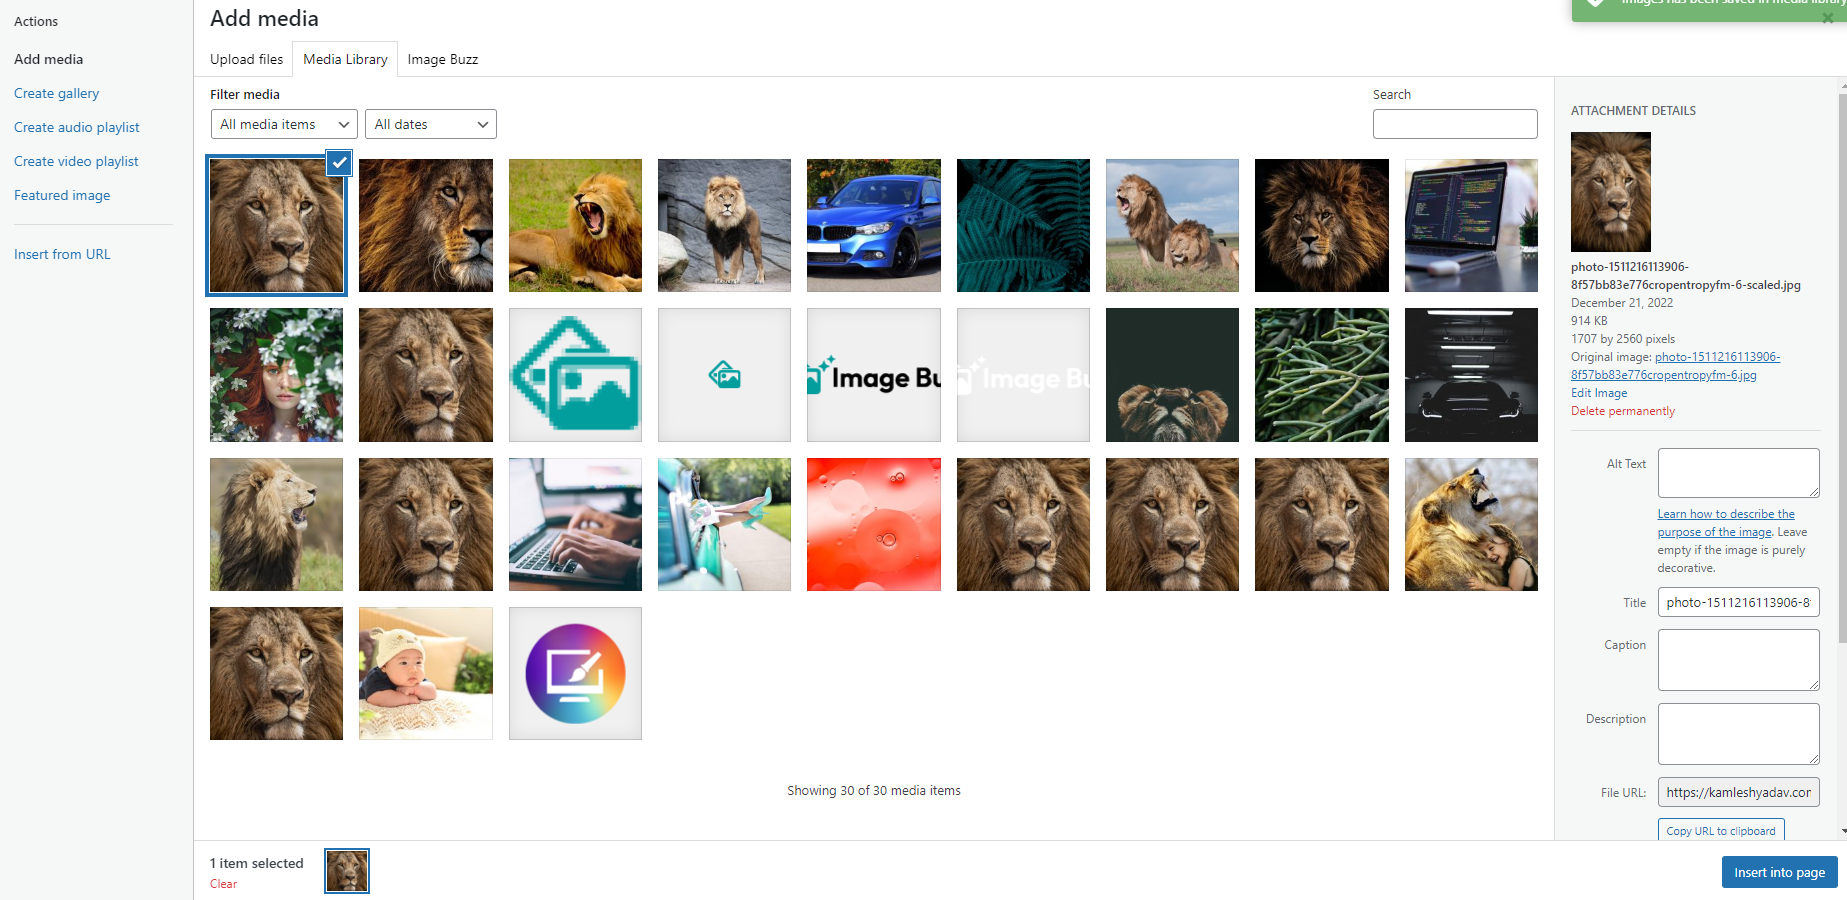
Step 3 Select Image Buzz option and select any option from Pixabay, Unsplash Pexels and OpenAi. Then search the desired image.
Step 4 After searching image, click on Use button. Image gets downloaded into Media Library and can insert into page.
Help And Support
In order to receive a technical support assistance, you need to have a valid purchase code. To get the code, please navigate to your Codecanyon "Downloads" page and click on the plugin download link.
After getting the Purchase code, please follow the steps mentioned on the link click Here to get your product verified. And then share your Purchase code and token ID with the support team.
If you have any questions that are beyond the reach of this help file, feel free to contact us. We will respond as soon as possible (within 24 – 48 hours, usually faster). We are open from 9:30am to 6:30pm (IST), from Monday till Friday.
NOTE: As authors of this plugin we do provide support only for the plugin-related features.
Outro
Thank you for your purchase. If you have any questions that are beyond the scope of this help file, please contact us through https://support.motothemes.net/
Once again, thank you so much for purchasing this plugin. As I said at the beginning, I'd be glad to help you if you have any questions relating to this plugin. No guarantees, but I'll do my best to assist. If you have a more general question relating to the plugin, you might consider visiting the forums and asking your question in the "Item Discussion" section.